There’s nothing more frustrating than a leaking tap that just won’t stop. It may seem like a small issue, but that steady trickle can waste thousands of litres of water every year — and with water bills constantly rising across the UK, it’s literally money going down the drain.
The good news? You don’t always need to call a plumber. In most cases, a leaking tap is something you can fix yourself with a few tools and some simple guidance.
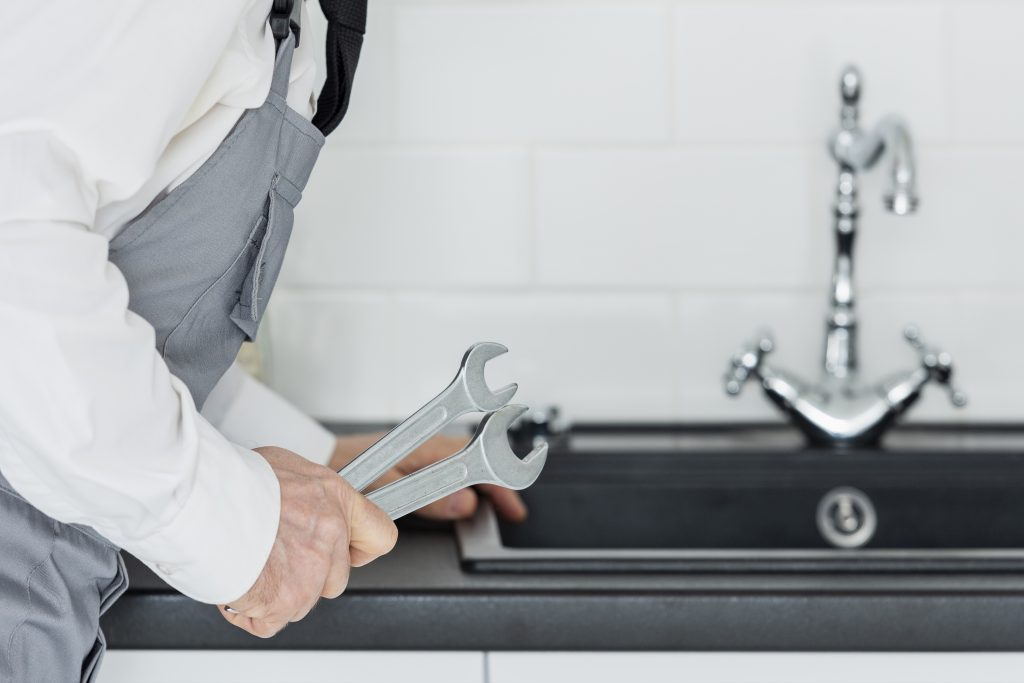
This in-depth guide, written by the plumbing experts at EPG247, walks you through exactly how to fix a leaking tap, when to call a professional, and how to prevent it from happening again.
Understanding Why Your Tap Is Leaking
Before grabbing your tools, it’s important to understand why taps leak. Different leak points mean different problems — and different fixes.
Here are the most common causes of tap leaks:
- Worn-out washer or O-ring – The rubber washer seals water flow when the tap is closed. Over time, it hardens, cracks, or wears flat, allowing water to escape.
- Faulty ceramic cartridge – Modern mixer taps often use ceramic cartridges instead of washers. When the cartridge cracks or clogs with limescale, it leaks.
- High water pressure – Excess pressure can push water through seals, causing leaks from the spout or handle.
- Limescale build-up – Common in hard-water regions like London, Essex, and Hertfordshire, this damages washers and cartridges over time.
- Loose or corroded fittings – The joints or valve seats inside the tap can loosen or corrode, creating leaks even when parts look fine.
Tip:
- Leak from the spout → washer or cartridge issue.
- Leak around the base → O-ring problem.
- Leak from under the sink → loose pipe or valve.
What You’ll Need Before Starting
Most tap repairs can be done with simple household tools. Gather these before you start:
- Adjustable spanner or wrench
- Flat-head & Phillips screwdrivers
- Allen key (for modern mixer handles)
- Replacement washer or cartridge
- Plumber’s tape (Teflon)
- Towels or rags
- Small bowl or bucket
- Silicone grease (for O-rings)
Pro Tip: Take photos during each step, it helps you reassemble everything in the right order later.
Step-by-Step: How to Fix a Leaking Tap
Step 1: Turn Off the Water Supply
Locate the isolation valves beneath your sink. Turn them clockwise to stop the flow of water.
If your tap doesn’t have isolation valves, use the main stopcock (usually under the kitchen sink or by the front door).
Now open the tap fully to release any water left inside.
Step 2: Plug the Sink
Simple but crucial, you don’t want a tiny screw or washer disappearing down the plughole.
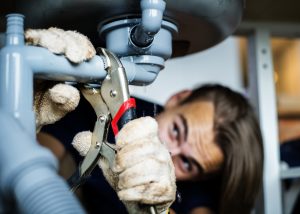
Step 3: Remove the Tap Handle
If your tap has a small red/blue cap on the top, gently pry it off with a screwdriver.
Use an Allen key or screwdriver to remove the screw underneath and lift the handle off.
This will expose the valve or cartridge inside.
Step 4: Inspect the Internal Mechanism
You’ll find one of two types of systems:
- Compression tap (older type): uses a rubber washer.
- Ceramic disc tap (modern mixer): uses a ceramic cartridge.
Inspect the parts carefully:
- The washer should be flexible and slightly springy. If it’s hard or cracked, replace it.
- The cartridge should move freely. If it feels stiff or grinds, replace it.
Step 5: Replace the Damaged Part
For washer taps:
- Use a wrench to loosen the valve body.
- Remove the old washer from the base.
- Fit a new washer of the same size.
- Wrap plumber’s tape around the threads before reassembly.
For cartridge taps:
- Pull out the old ceramic cartridge.
- Insert a matching replacement.
- Tighten the retaining nut just enough, don’t overdo it.
Warning: Over-tightening is the number one reason new leaks appear. Gentle and firm is the key.
Step 6: Reassemble the Tap
Once the new part is in place:
- Screw the valve or cartridge back in.
- Refit the handle and decorative cap.
- Turn on the water supply slowly.
Test the tap, if no water leaks from the spout or base, your repair worked.
If it’s still dripping slightly, tighten gently once more.
Common Leak Types and How to Fix Them
FAQs
Leak Type | Probable Cause | DIY Fix | Difficulty |
Drip from spout | Worn washer or cartridge | Replace washer or cartridge | Easy |
Leak at base | Damaged O-ring | Replace O-ring, apply silicone grease | Easy |
Leak beneath sink | Loose connection | Tighten with spanner and plumber’s tape | Medium |
Mixer tap leaking | Faulty ceramic cartridge | Replace cartridge | Medium |
Handle leak | Worn valve seal | Replace O-ring or valve insert | Easy |
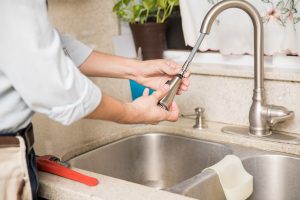
Fixing a Mixer Tap (Modern Kitchen/Bathroom Models)
Mixer taps are now standard across most UK homes. They use ceramic cartridges that combine hot and cold water.
Here’s how to fix one properly:
- Turn off both hot and cold isolation valves.
- Remove the handle and decorative shroud.
- Unscrew the retaining nut with a wrench.
- Pull out the cartridge and clean inside with vinegar (to remove limescale).
- Insert the new cartridge and tighten gently.
- Reassemble and test for balance between hot and cold flow.
Insight:
A stiff handle often means internal limescale, not a broken cartridge. Cleaning can sometimes solve it without replacement.
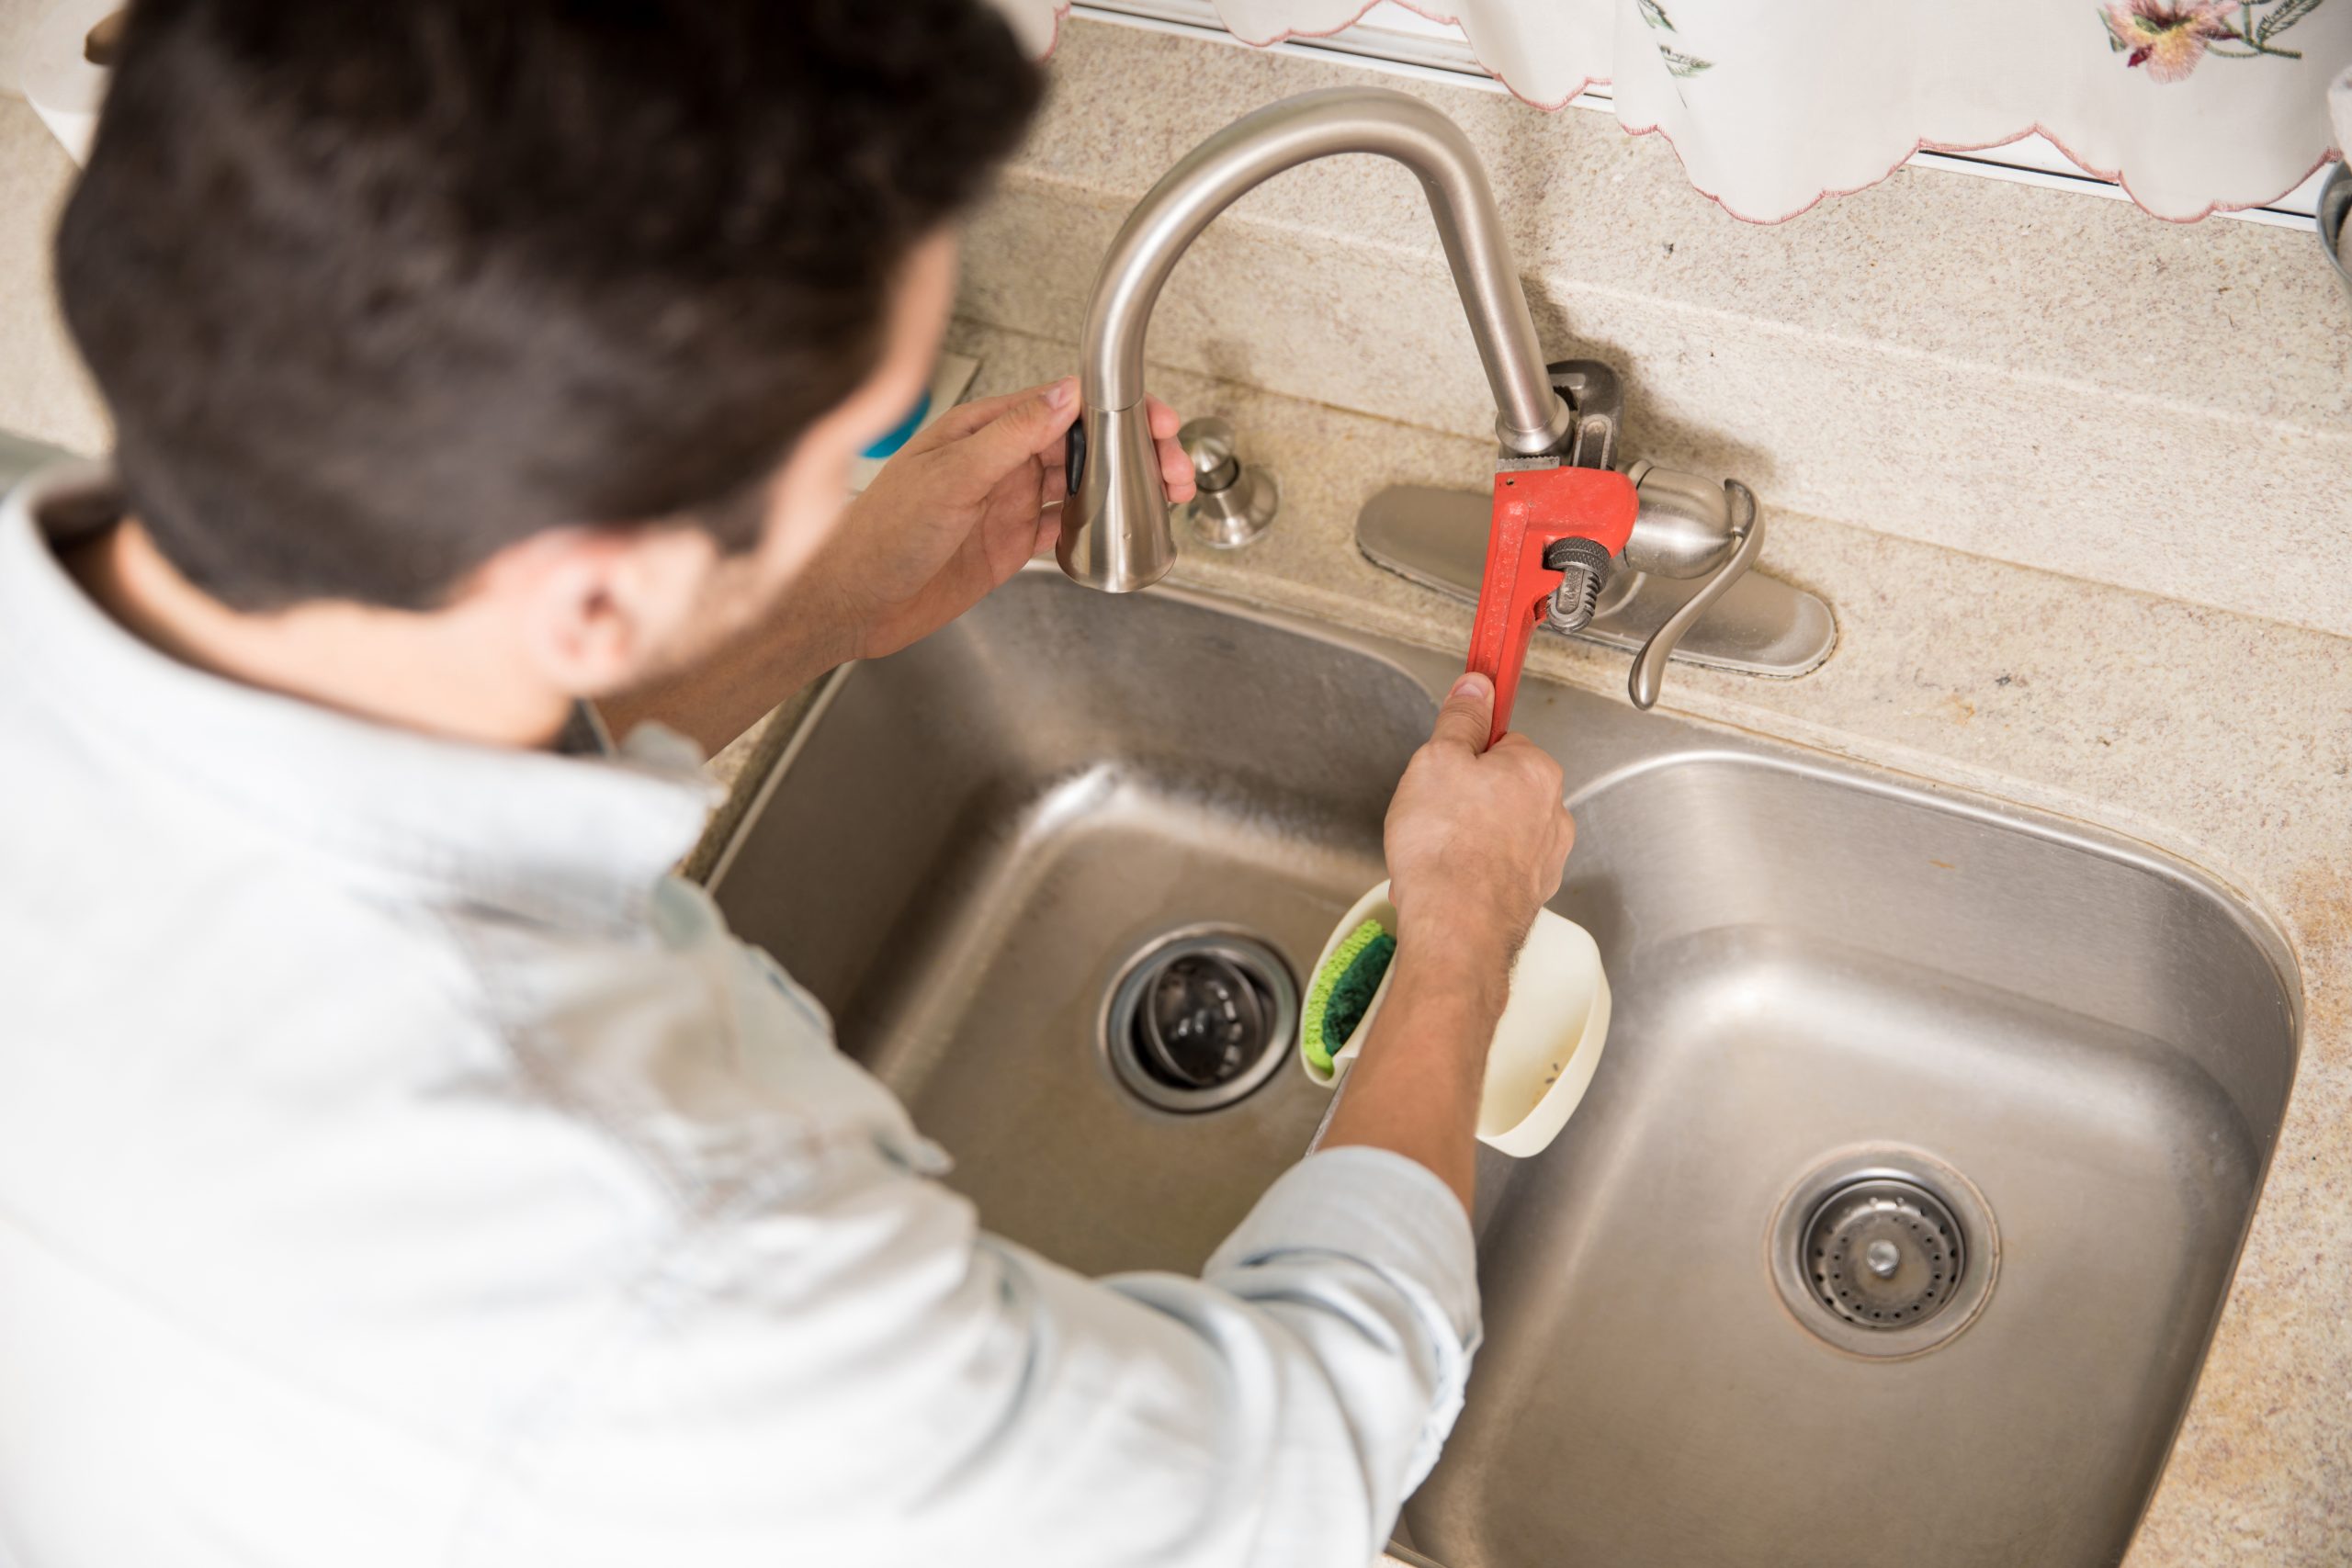
Fixing a Leak from the Tap Base
If you see water pooling around the tap’s base, the O-ring is likely to blame.
Fix:
- Turn off the water supply.
- Loosen and lift the spout.
- Remove the old O-ring using a screwdriver.
- Clean the groove and fit a new ring.
- Apply a touch of silicone grease before reassembly.
9 out of 10 base leaks disappear instantly after O-ring replacement.
DIY Fix vs When to Call a Plumber
Problem | DIY Possible? | When to Call Engineer |
Drip from spout | Easy washer change | If dripping continues after replacement |
Leak from base | Replace O-ring | If water seeps into worktop |
Leak underneath | Possible but messy | For corroded or hidden joints |
Mixer cartridge issue | With correct parts | If water pressure is unbalanced |
Sudden burst or constant flow | Dangerous – shut off main valve only | Immediate emergency callout |
Common DIY Mistakes (and How to Avoid Them)
Even confident DIYers make these errors:
- Over-tightening valves: damages threads, causing micro-leaks.
- Forgetting plumber’s tape: leads to slow, invisible leaks.
- Wrong washer size: even 1 mm off can make the seal fail.
- Skipping limescale cleaning: rough surfaces prevent sealing.
- Ignoring pressure issues: can damage new parts immediately.
Advice:
Always test the tap gently before turning water pressure back up. Quick success checks prevent major flooding.
Reducing the Risk of Future Leaks
A few simple maintenance habits can make your taps last for years:
- Turn taps off gently, never force the handle.
- Wipe the tap dry after each use to stop limescale buildup.
- Clean the aerator monthly.
- Fit a water softener in hard-water areas.
- Replace washers every 12–18 months if the tap sees heavy use.
Prevention takes minutes, repairs take hours.
Real-World Example
Recently, one of our engineers in Hertfordshire attended a call where the homeowner had replaced the washer twice, yet the leak persisted.
The real culprit? A corroded valve seat, not the washer. Once reseated and polished, the tap stopped leaking instantly.
These subtle, experience-based diagnoses are what make professional plumbers so efficient — and it’s why DIY isn’t always the full solution.
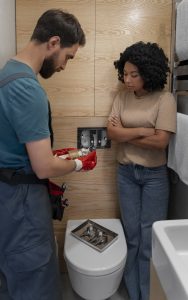
When It’s Time to Call a Professional
Sometimes, a leak is just the surface of a deeper issue:
- The tap leaks even after replacement parts.
- The water flow is unbalanced or pulsating.
- You notice damp spots under the sink.
- You’re unsure about which parts fit your tap.
In such situations, a professional plumber can assist with everything from leaking taps and burst pipes to complete plumbing installations, available throughout the week.
Need help with a plumbing issue?
Plumbing professionals are available in the UK at all hours to provide assistance, ensuring quick response times and transparent pricing with no hidden costs.
Conclusion:
When to Fix It Yourself and When to Call a Professional
Fixing a leaking tap might sound intimidating, but with the right knowledge and tools, most UK homeowners can handle it. You’ll save water, prevent damage, and feel the satisfaction of doing it yourself.
If a tap continues to leak or the issue seems more serious, it’s best to seek help from a professional plumber who can inspect and repair the problem promptly.
FAQs
Why does my tap keep leaking even after changing the washer?
The valve seat may be worn. A plumber can reseat it or replace the tap.
Can plumber’s tape stop a leaking tap?
It works only on threaded joints, not inside the valve or cartridge.
How much water can a leaking tap waste?
Up to 10,000 litres per year, costing £60–£80.
Is it better to repair or replace an old tap?
If it’s more than 10 years old or leaks repeatedly, replacement is the better long-term solution.
How long does it take to fix a leaking tap?
Usually under 30 minutes for a simple washer or cartridge replacement.